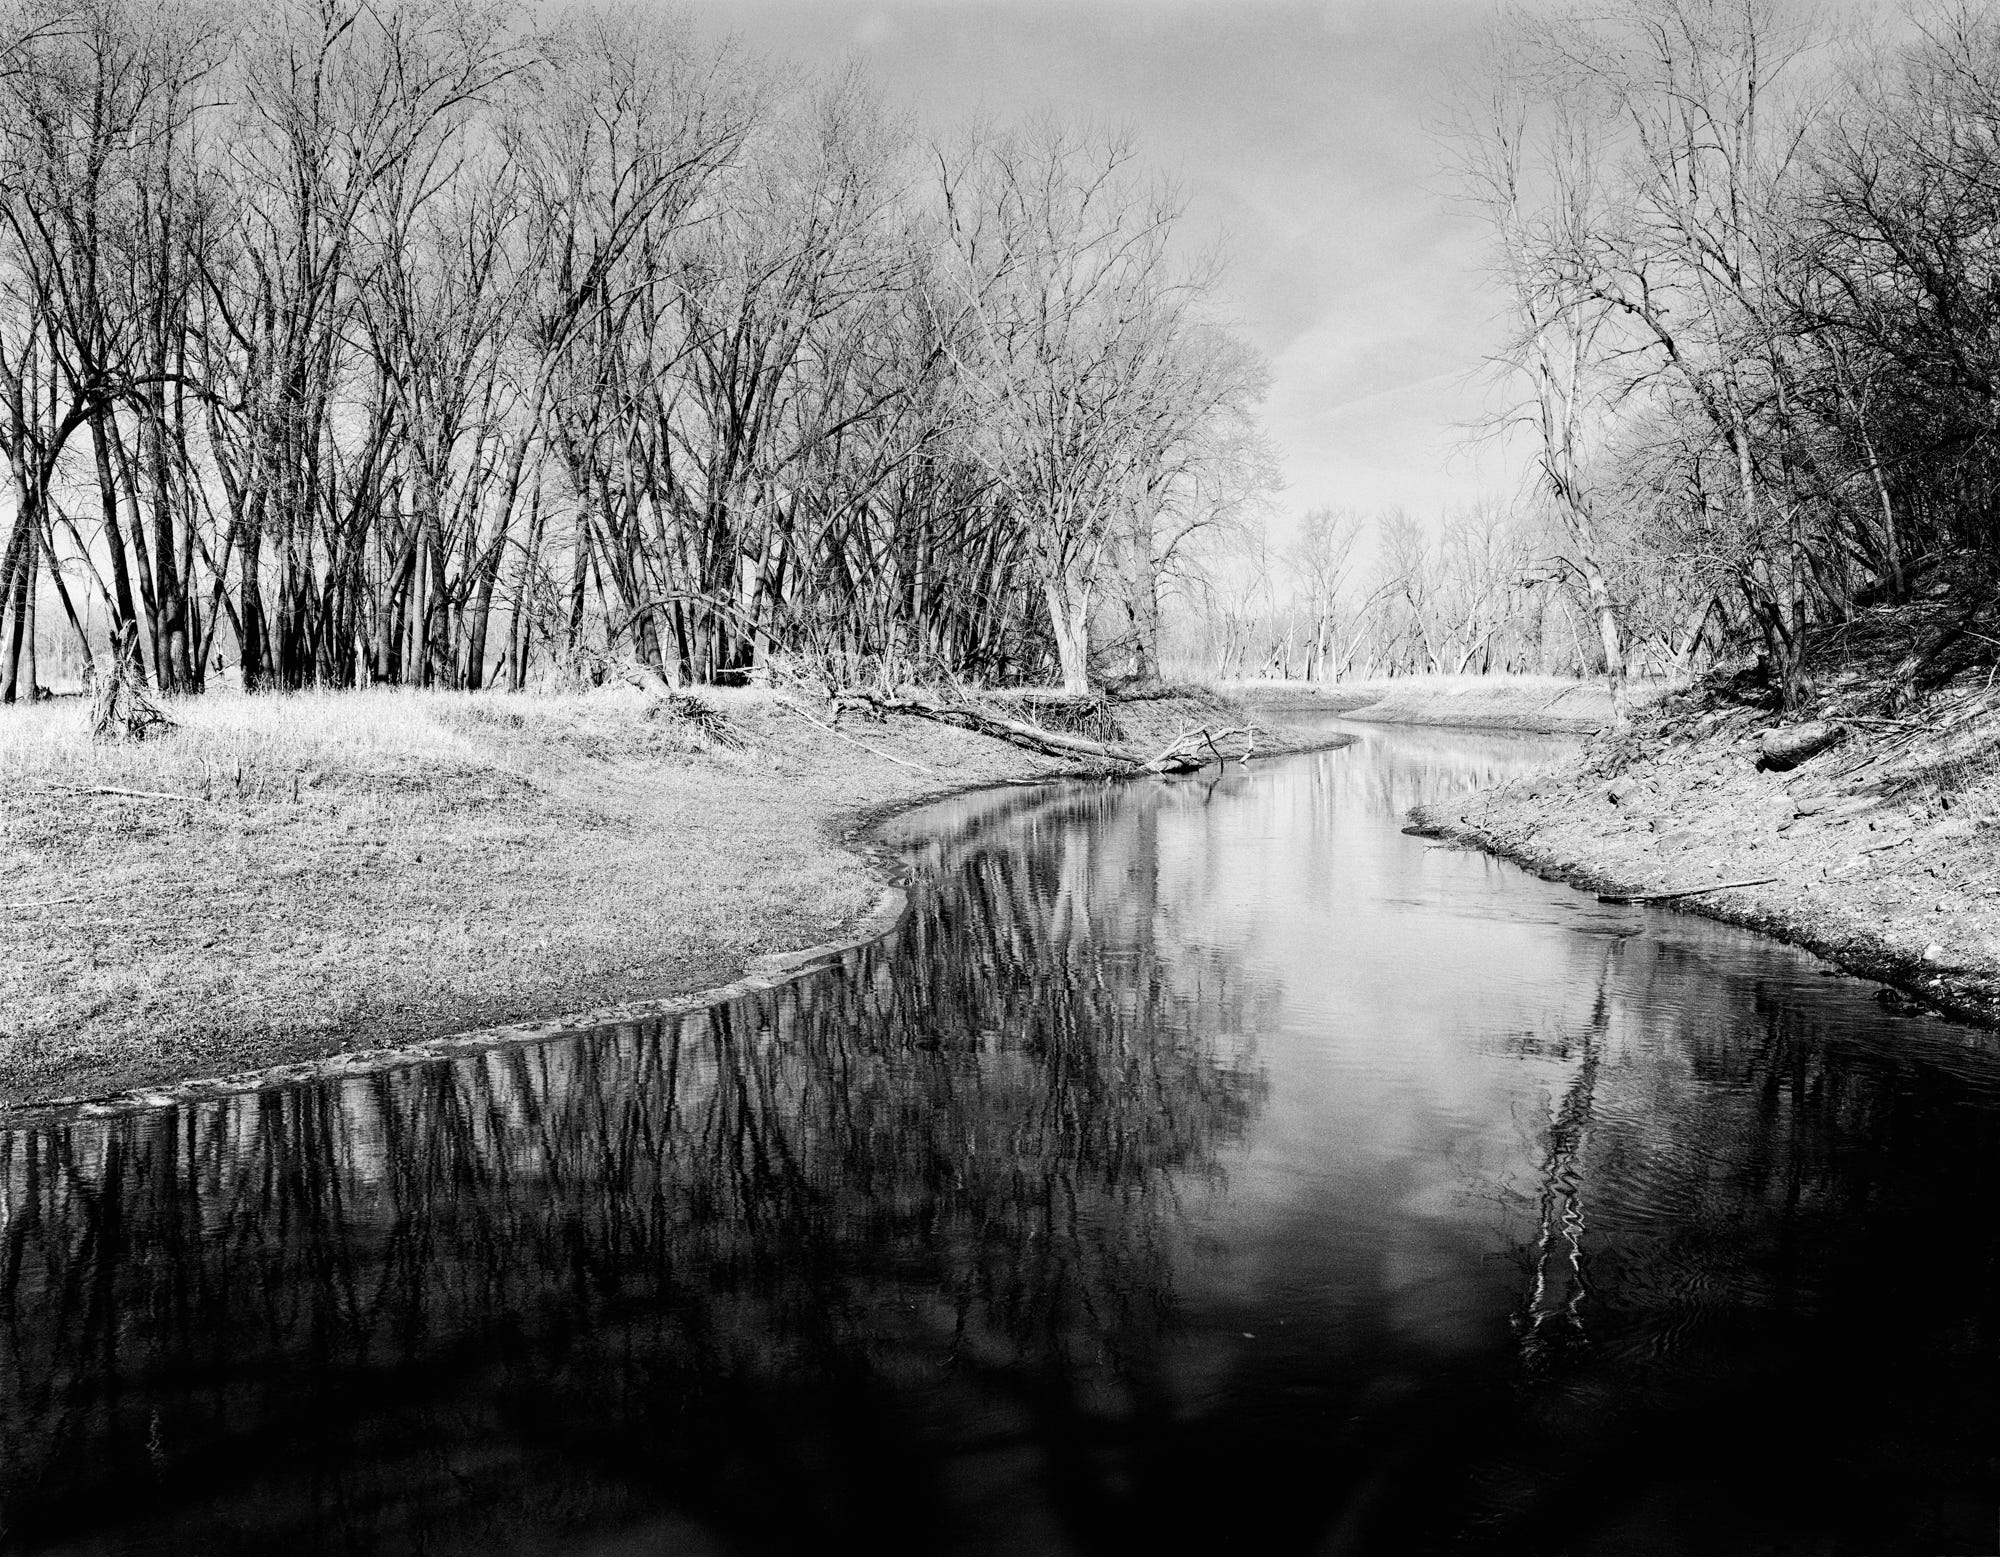
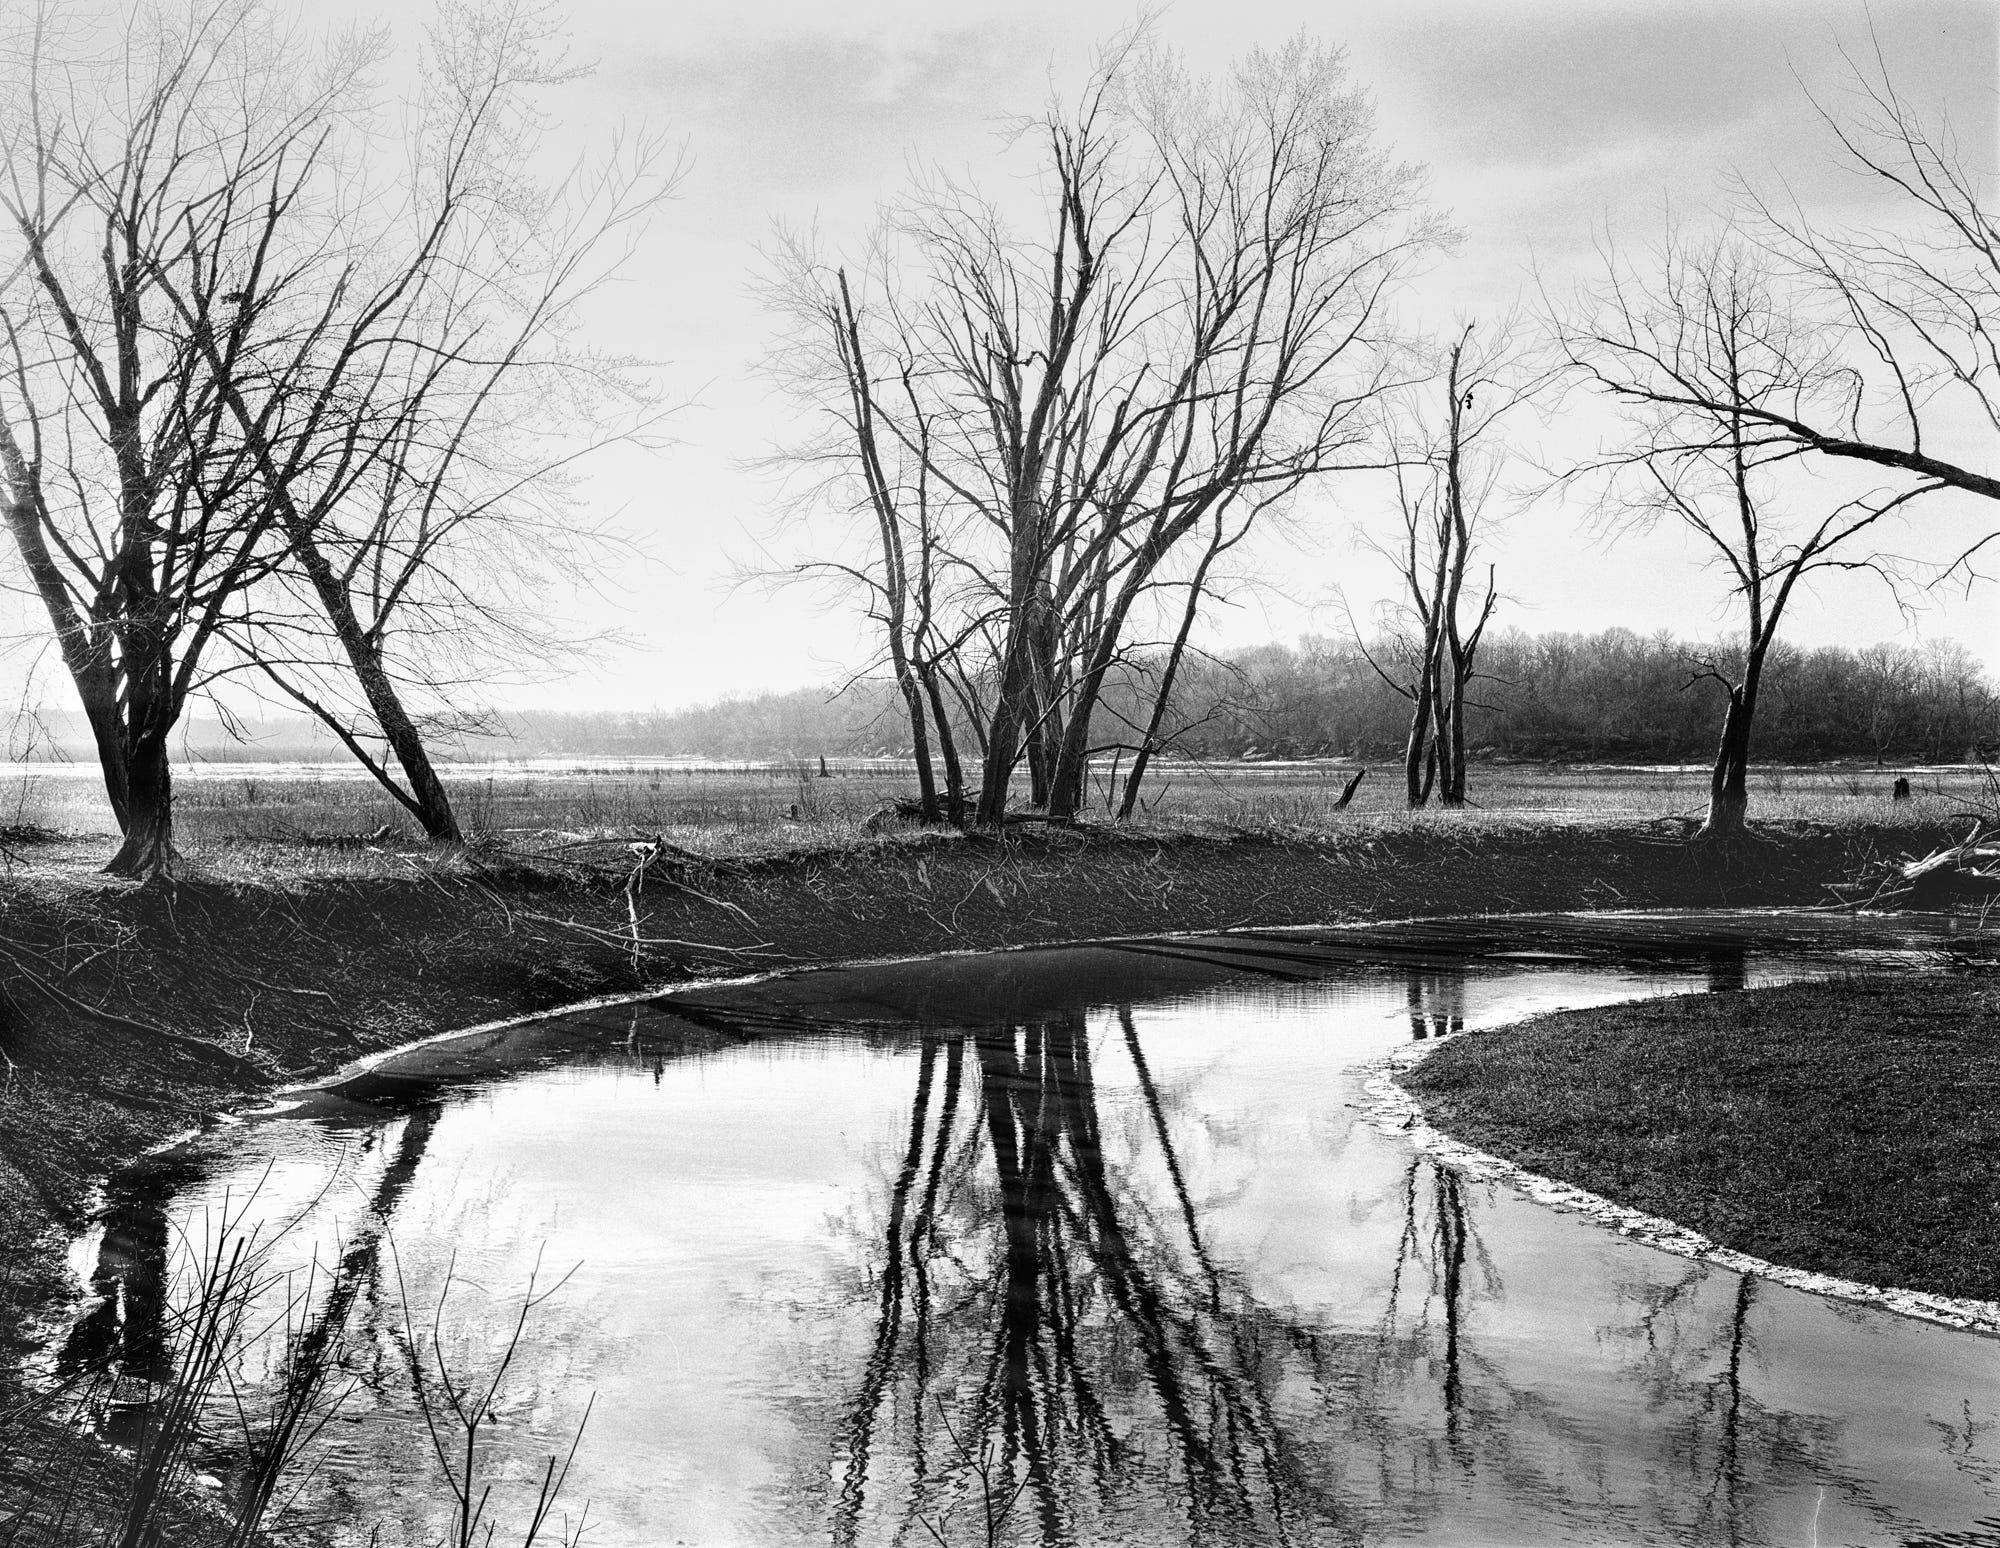
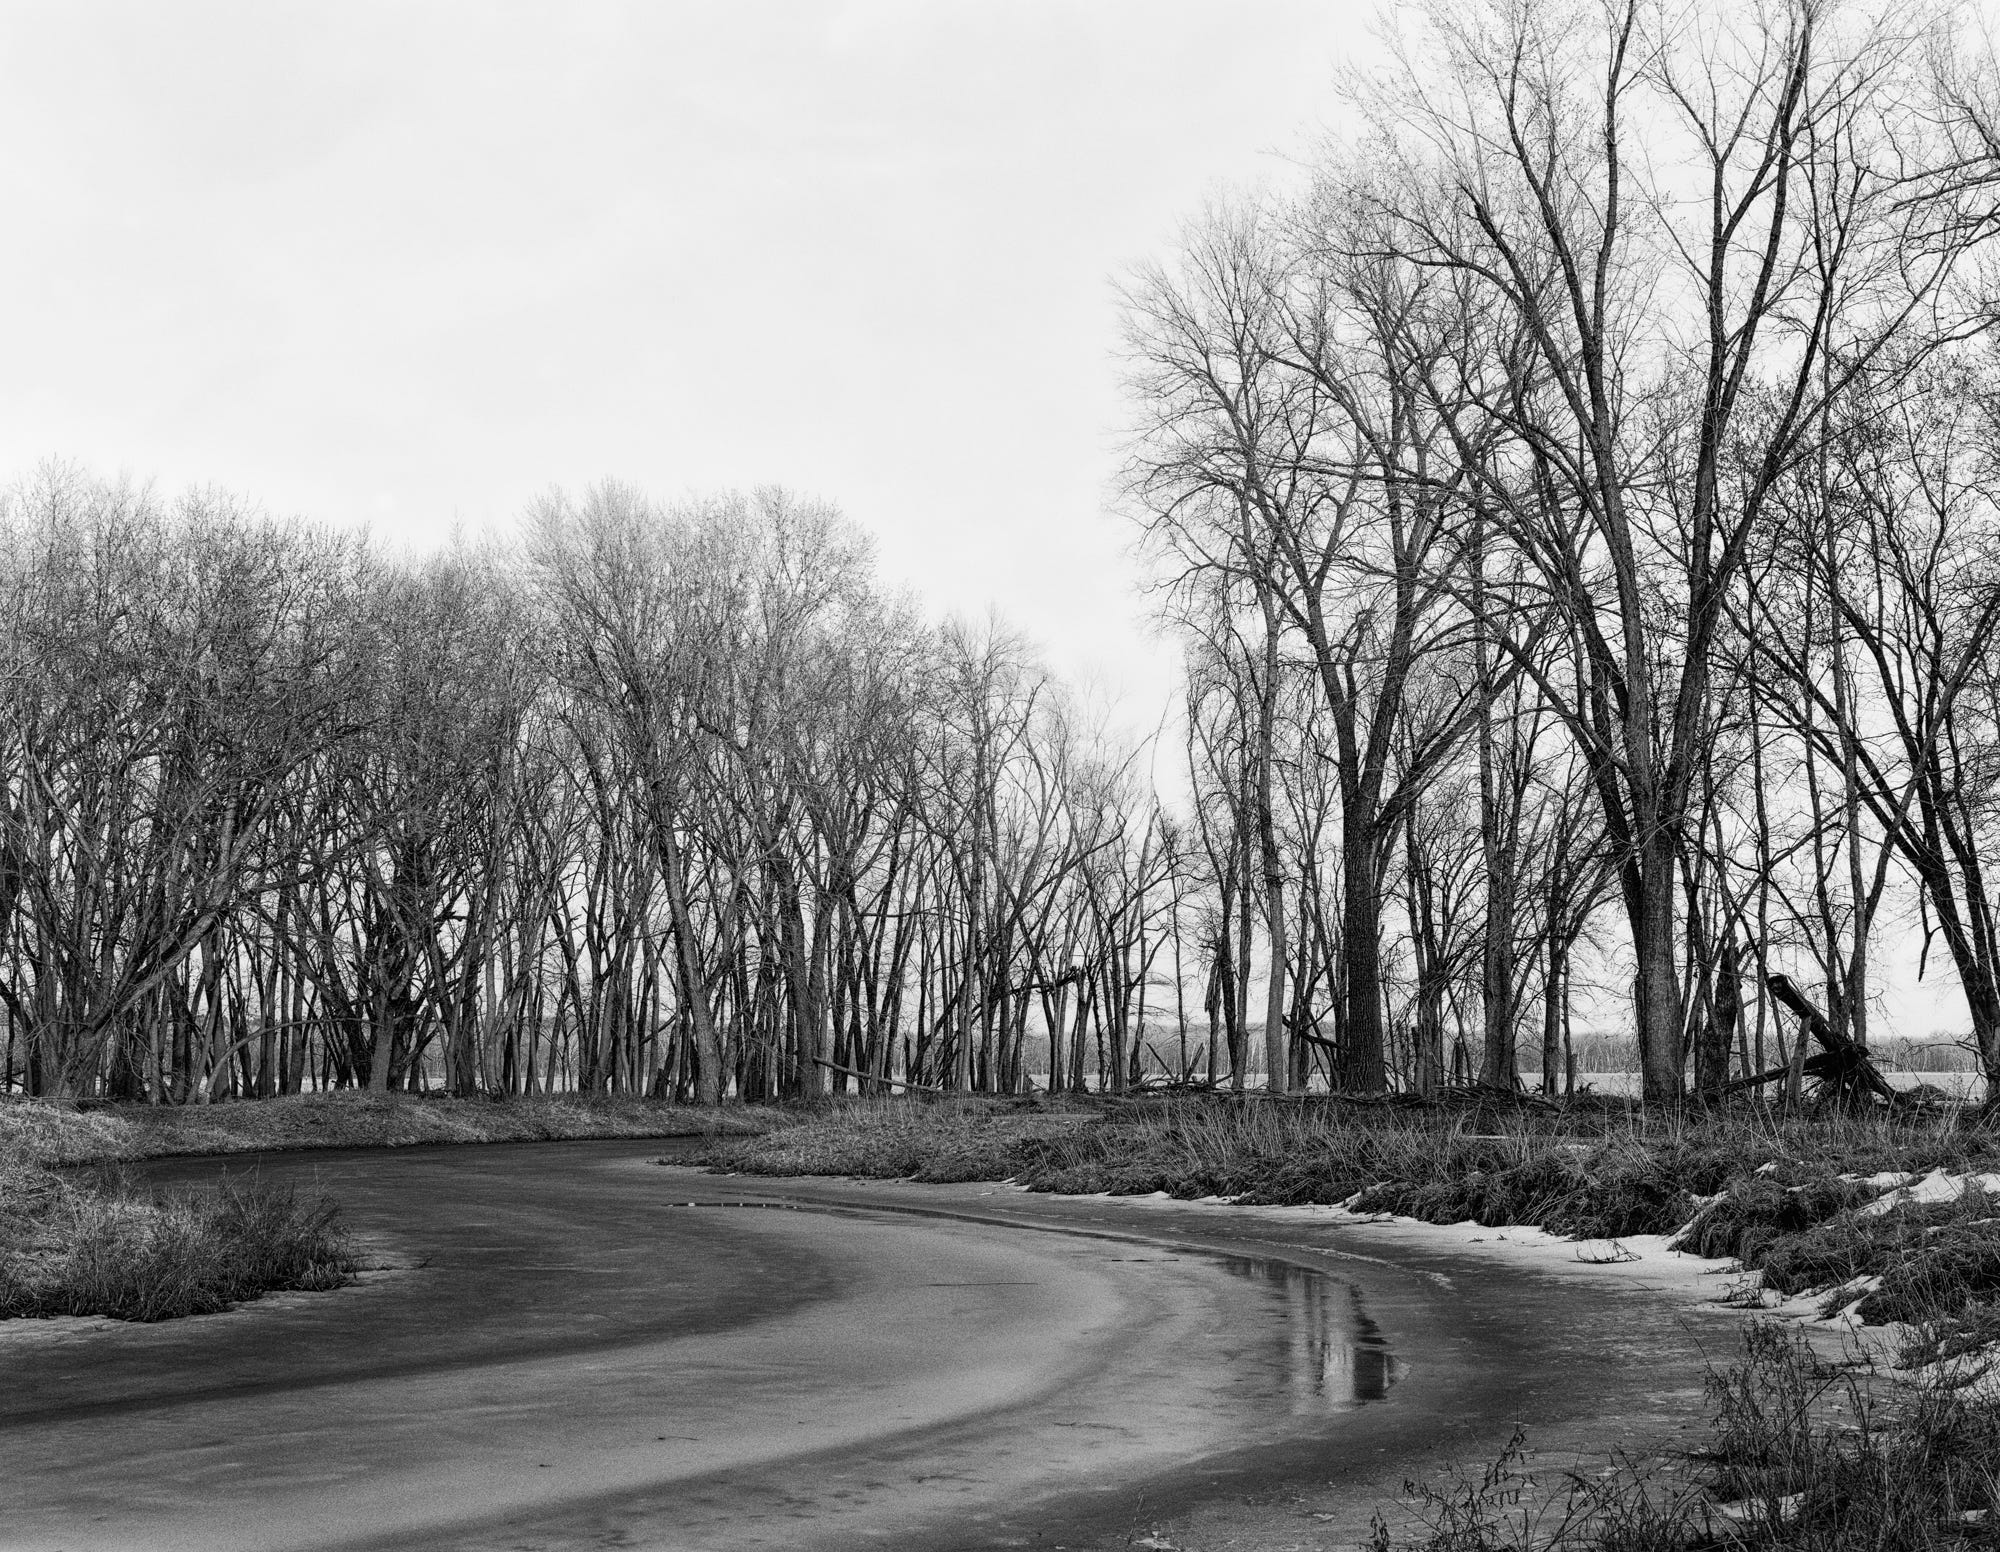
I am now five days and ten negatives into the process of learning to use a large format film (LFF) camera. Previously, when I obtained a new camera, I would stand on the deck behind our house and make some photographs of the ash trees. I have many such images, at different times of day, different qualities of light, different seasons of leaves. They can be beautiful but hardly portfolio-worthy or unique.
Exposing large format negatives has raised my awareness of the value or cost of each exposure. The initial cost is monetary, the price of large pieces of film, and the cost of the chemicals used to develop them. Each is working out at about three dollars, which is not insignificant but less than a Starbucks coffee. The real cost, though, is the time. Each photograph made requires the film to be loaded into the holder in darkness, the camera to be assembled on site, the establishing of the composition, the focusing of the lens, the application of filters, the calculation of the exposure, the insertion of the film holder, the removal of the dark slide, the actual exposing of the film, the replacement of the dark slide, the removal of the film holder, the disassembly of the camera. And then, once home, the removal of the film from the holder in darkness, placing the film in the tank, the mixing of the chemicals, getting the chemicals to temperature, adding and agitating the chemicals in the film tank, the washing and drying of the negative, the scanning, the cleaning and editing, and then you get to see what you have created.
There are many steps, a lot of time, and many opportunities to learn as you make mistakes.
Rule #1: Make sure you have film in the film holder.
It sounds obvious, but you must expose some actual film to make a photograph. However, during the process of LFF photography, you never see the actual film until you have developed it. On my second outing, I took three film holders with me in a carrier. I placed four sheets of film in two of the holders. One was empty. I made two exposures. And yes, you guessed it, I made them using the empty film holder.
I was more than a little upset when I got home, and in my dark bag, as I was trying to move the film from the holder to the developing tank, I discovered there was no film in the holder. The two exposures would have been beautiful, probably, but we will never know. After three hours of hiking, composing, and all the steps of LFF photography, I made nothing but a rookie mistake.
Fool me once. So, I spent an evening researching how to organize and manage film holders. Of course, with such a mature medium, plenty of systems and advice are available to help one avoid this issue. But unfortunately, none of the quick guides to LFF Photography that I had previously read touched on this necessity. Beyond knowing if there is film in a holder, there is also the challenge of knowing if the film is exposed (used, ready for processing) and, later on, the challenge of working out which negative was in which film holder.
To progress my skills as a photographer, it is essential to be able to take notes about each exposure and relate this information to the final prints. Unlike traditional rolls of film, which have numbers on the actual negatives, on sheet film, there is no physical identifier on the negative to refer to.
How to manage your film holders:
1. Number the outside of each side of each holder. You will use this number in your notes to refer to the exposure information.
2. Modify your film holders to imprint the number onto the negatives. This is sheer brilliance. Using a file and following the advice from the interwebs1, I carved a binary numerals system into the film holder’s edge. This then causes these notches to be exposed on the edge of the negative. This allows one to identify which film holder each negative was in and thus relate our notes to the negative.
3. After loading the film into a film holder2, insert the dark slide consistently. I use white side out to signify that the film is unexposed.
4. After exposure, insert the dark slide opposite, black side out. If you realize you have reinserted the dark slide the wrong way around, use your camera as a changing bag. Reinsert the film holder into the camera with the shutter closed, pull the dark slide out, and reinsert it correctly.
5. Be consistent with undeveloped film holders and unloaded film holders. I keep the dark slide showing black until fresh film is loaded, and I keep the dark slide partially open once the film is removed for development. Thus, by looking at a holder, I can identify if there is film in it and if the film is exposed or not.
6. Only take film holders with film in them on trips. There is no need to carry empty film holders and risk confusion about which ones are ready. I found a great case for film holders made by Stone Photo Gear3.
I know this has been a lot of geeky nonsense and irrelevant to the vast majority of people reading this. But if I can help just one person avoid making the same mistake as me, then it will have been worth it.
References
1 https://www.jbhphoto.com/articles/film-holder-numbering/
2
https://www.youtube-nocookie.com/embed/QuP9F8LUzk8?rel=0&autoplay=0&showinfo=0&enablejsapi=0